Food photography tips with Lucy Heath #BlogCampRiverCottage
A couple of weeks ago I was invited to the Foodies 100 Blog Camp held at River Cottage HQ in Axminister. River Cottage is a real-life working farm, restaurant and cookery school as well as the location of the TV series with Hugh Fearnley-Whittingstall.
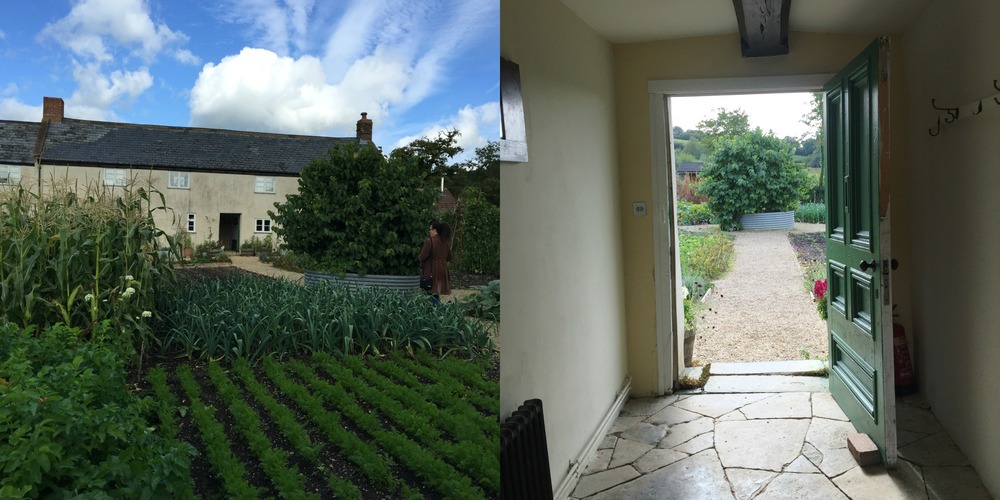
The cottage itself is a beautiful 17th-century farmhouse, restored 9 years ago by the River Cottage team. Nearby, the newly converted barns are used for cookery courses, dining and weddings. Set in 66 acres of rural Devon countryside, River Cottage made a picturesque location for the event.

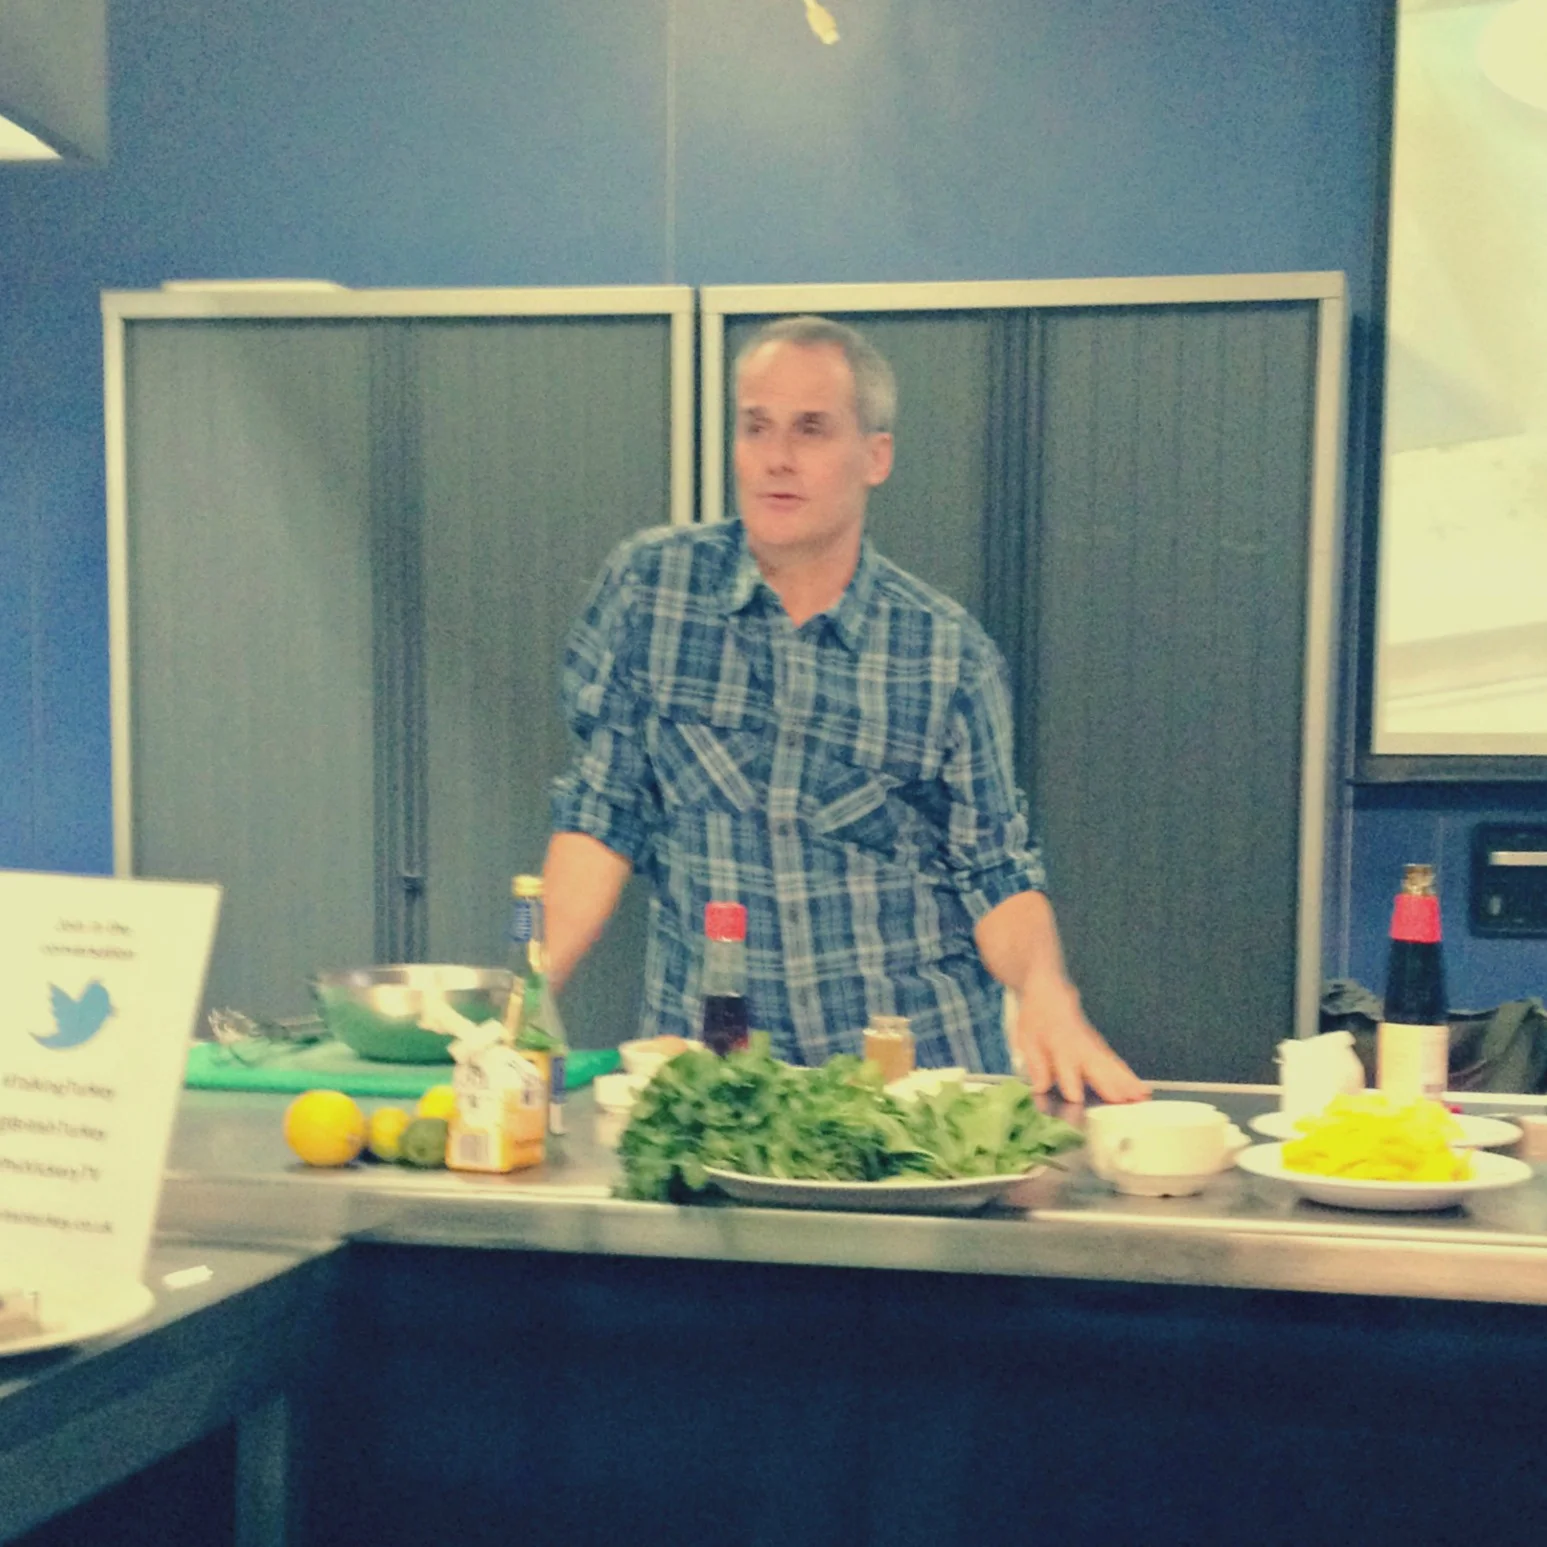
One of the highlights of the day for me, as well as seeing Hugh's kitchen, was the food photograph session with Lucy Heath of the award winning Capture by Lucy. Not only is she one of the sweetest bloggers I know, she's also one of the most talented - just check out her gorgeous Instagram feed for inspiration.

Lucy recently shot her first cook book which she described as 'photographing a wedding everyday for a week' - not too stressful then! She shared lots of brilliant food photography tips she picked up along the way, many of which I have shared in this post.

- In photographs, direct sunlight is not flattering for people. The same goes with food. An overcast day is ideal for shooting food in natural light. Use a white board to reflect light.
- Pictures of food can often look quite sterile and still, so it's really nice to add movement through props such as screwed up napkins or pieces of cloth, flowers, cute scissors or sprinkled herbs.

- For overhead shots, it's really important to think about the height difference of objects. A mug and a tall vase next to each other won't work. Swap the vase for a jam jar filled with flowers.
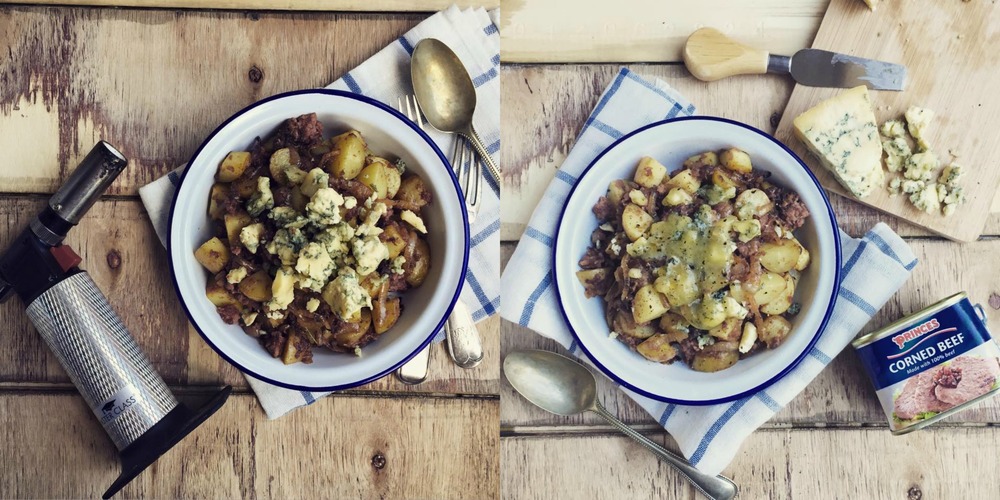
- This is a another great tip for overhead shots. Prop up the dishes so they angle towards the camera and when you look above they will all look flat. I have tried this recently using little bits of folded paper and it worked very well indeed. You can see in the pictures below how this works.

- Avocado oil is great for making food look shiny as it's less runny and less greasy than other oils. In the past I used olive oil or a water spray to create shine, which work fine but it can be a little messy.
- For perfect griddle marks heat up a metal skewer and singe your meat. Previously I have used a screaming hot griddle pan and barely cooked the meat - it's a bit hit and miss!
- Food needs to be photographed cold but you can create steam by soaking a tampon in boiling water and placing is behind the item you're photographing.
- Melt cheese with a blowtorch for controlled melting. Cheese never melts in real life how it melts in photos. I've tried this and it works a treat, as you can see in the photos below.
- For condensation that sticks to glasses, spray on a mixture of glycerine and water.
- Use the colour wheel to match props with food. Use colours opposite each other, e.g. red & green go well together, so choose a greeny plate for tomatoes. Avoid dark and white together as this can give bluey tones which are not flattering.
- Pin things together with cocktail sticks to stop them moving around. I've used this trick for shooting wraps and burgers. Works a treat, especially for a wrap, which tends to unwrap!

- Cutlery is a great prop for food photography, but not if it's shiny! Rub it with a little toothpaste or mess it up with some of the food your shooting. Use the same number of forks or spoons as you have dishes. Get vintage and tarnished cutlery from charity shops.
- When photographing food, think in miniature. Use small plates, small dishes, small cutlery. Instead of using a dinner plate use a side plate. Everything looks so much bigger in a photo! I made this mistake so many times in my early days of food blogging. You may be suprised that the fork in the shot on the left is just 12cm long, and the plate in the shot on the right is actually a side plate. I have no idea why, there must be a reason, but everything seems to look so much bigger!

- Finally, work in odd numbers (e.g. one item or three items) and use matt backgrounds. Wrapping paper and wallpaper make good backgrounds.
Big thank you to Foodies 100 for inviting me to Blog Camp River Cottage. This is not a sponsored post.